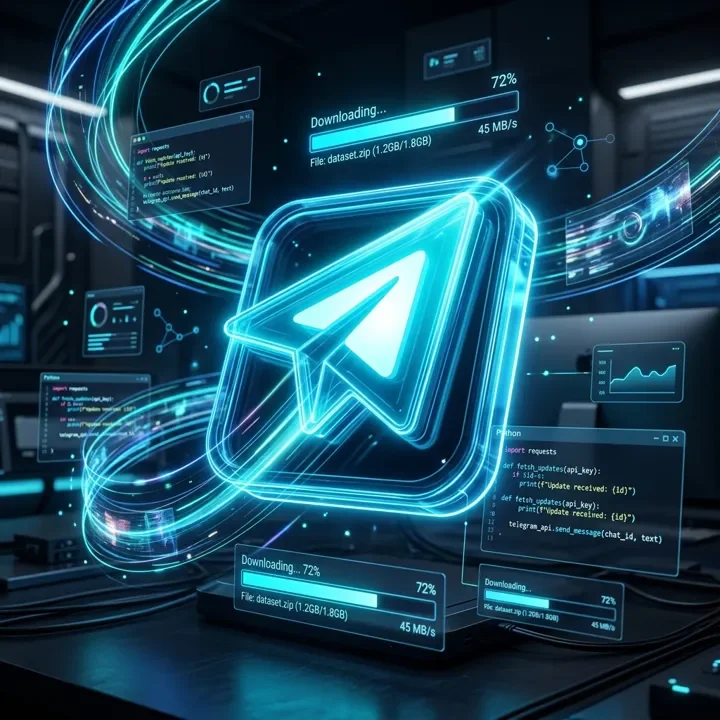
Deploy Nanobot AI: How to Self-Host a Telegram Agent in 2026

As we navigate through 2026, the paradigm of digital assistance has shifted dramatically. Users are no longer satisfied with simple, reactive chatbots that respond only to basic keywords. The demand has surged for autonomous, persistent, and proactive AI agents—independent programs that run continuously, retain long-term memory, interact with APIs via the Model Context Protocol (MCP), and operate within daily workflows. Leading this charge is Nanobot, a highly acclaimed open-source AI agent framework developed by HKUDS. Designed for developers who want complete control over their data, Nanobot allows you to host your own personal AI assistant and connect it directly to chat platforms. This comprehensive guide provides a detailed, step-by-step installation and configuration guide to self-host Nanobot as a private Telegram agent, complete with custom terminal commands and safety configurations.
Quick Answer:
To run a self-hosted Nanobot on Telegram, install it using the automated script (curl -fsSL https://raw.githubusercontent.com/HKUDS/nanobot/main/scripts/install.sh | sh), configure your ~/.nanobot/config.json with your BotFather token and user ID whitelist, and run nanobot gateway to launch. To find pre-configured AI integrations and communities, check out Telekit's Tech & AI Catalog.
Why Developers Choose Nanobot AI Over Closed Alternatives
Self-hosting your AI agent brings massive benefits compared to renting access from commercial, centralized platforms. Nanobot offers complete privacy, local data storage, modular plugin support, and zero platform markup fees. Because it is built from the ground up to support the Model Context Protocol (MCP), Nanobot can connect to local developer filesystems, databases, and APIs, giving your agent the ability to execute tasks on your behalf.
Furthermore, Nanobot integrates seamlessly with Telegram. Using Telegram as a front-end interface means you can query your server, analyze files, execute code snippets, and manage notifications directly from your smartphone, tablet, or laptop, anywhere in the world.

Oasis Community
Group
21,809
Tech & AI
Common
Join Group

Fraction AI Official Group
Group
16,461
Tech & AI
Common
Join Group

KaiChain Official
Group
14,207
Tech & AI
Common
Join Group

Ispolink Official Community
Group
13,259
Tech & AI
Common
Join Group

MetaOne AI Game 🕹
Group
10,616
Tech & AI
Common
Join Group
Nanobot vs. Alternative Bot Frameworks
Understanding where Nanobot stands compared to other popular Telegram automation libraries and frameworks helps developers select the right tool stack. While raw libraries offer more low-level flexibility, Nanobot provides a fully integrated agent infrastructure out of the box.
Step 1: System Prerequisites & API Keys
Before launching the terminal, ensure you have gathered the necessary credentials and verified your local environment requirements:
- Python 3.11+ & Git: Make sure Python and git are installed. Nanobot relies on the speed of the
uvpacket manager internally. - OpenRouter or OpenAI API Key: Nanobot uses LLMs for logic processing. Gather an API key from OpenRouter, Anthropic, or OpenAI.
- Telegram Bot Token: You will need to create a new bot to receive your API token.
Creating Your Bot via BotFather
Open your Telegram application and search for the verified account @BotFather. Press /start and follow these simple instructions:
- Send the command
/newbotto BotFather. - Provide a display name for your AI agent (e.g.,
Nanobot Private Agent). - Choose a unique username for your bot, which must end in
botor_bot(e.g.,my_private_nano_bot). - BotFather will generate an API access token. Copy this token immediately. Keep it private, as anyone with access to it can control your bot.
Retrieving Your Telegram User ID
Since your self-hosted agent has the ability to run files and commands on your machine, it is critical to lock down access. You must restrict message handling to your own Telegram account. Search for @userinfobot on Telegram and send /start. It will respond with your numeric User ID (e.g., 123456789). Copy this ID for your configuration.
Step 2: Install Nanobot AI
Open your terminal on your Linux server, macOS machine, or Windows Subsystem for Linux (WSL2) prompt and run the automated installation script:
# For macOS and Linux systems
curl -fsSL https://raw.githubusercontent.com/HKUDS/nanobot/main/scripts/install.sh | sh
For Windows systems utilizing PowerShell, you can execute the corresponding Windows installer command:
# For Windows PowerShell
irm https://raw.githubusercontent.com/HKUDS/nanobot/main/scripts/install.ps1 | iex
If you prefer a manual, git-based installation to review the source code before running it, clone the official repository and set up a virtual environment:
# Clone repository
git clone https://github.com/HKUDS/nanobot.git
cd nanobot

# Create virtual environment and install dependencies
python -m venv venv
source venv/bin/activate  # On Windows use: venv\Scripts\activate
pip install --upgrade pip
pip install -e .
Step 3: Configuration & Security Hardening
Once installed, Nanobot will create a hidden directory in your user home directory named ~/.nanobot/. This folder contains database files, logs, and your primary configuration file: config.json.
Open the file with your favorite command-line text editor (such as nano or vim) to configure your AI providers and whitelist your Telegram account:
# Open the configuration file
nano ~/.nanobot/config.json
Modify the JSON properties to enable Telegram and insert your credentials. Replace the placeholder values with your actual Telegram Bot Token, User ID, and OpenRouter API key:
{
  "agent": {
    "default_model": "openrouter/anthropic/claude-3.5-sonnet",
    "system_prompt": "You are a self-hosted personal AI assistant. You have access to the local terminal and filesystem. Help the user execute commands safely."
  },
  "providers": {
    "openrouter": {
      "api_key": "sk-or-v1-YOUR_OPENROUTER_API_KEY_HERE"
    }
  },
  "channels": {
    "telegram": {
      "enabled": true,
      "token": "YOUR_BOT_TOKEN_FROM_BOTFATHER",
      "allowFrom": ["YOUR_NUMERIC_TELEGRAM_USER_ID"]
    }
  },
  "mcp": {
    "enabled": true,
    "servers": {
      "filesystem": {
        "command": "npx",
        "args": ["-y", "@modelcontextprotocol/server-filesystem", "/path/to/allowed/directory"]
      }
    }
  }
}
Security Warning: Always populate the allowFrom array with your user ID. If left empty or omitted, anyone who finds your bot's username on Telegram can send messages to it, potentially running arbitrary code on your hosting server.
Step 4: Launching & Interacting with Nanobot
With configuration complete, you are ready to fire up the gateway. In your terminal, run the start command:
# Start Nanobot agent gateway
nanobot gateway
If you prefer running the agent in the background as a system service so it persists after closing your terminal session, configure a standard systemd service file or run it inside a terminal multiplexer like screen or tmux:
# Launch within a persistent tmux session
tmux new -s nanobot_session
nanobot gateway
# Press Ctrl+B then D to detach
Once running, open your Telegram app, navigate to your bot's conversation window, and type /start. If everything is configured correctly, your bot will introduce itself. You can now chat with it, ask it complex questions, ask it to look at your whitelisted local files, or even run code commands. For advanced developers, you can use the Telegram gaming and apps catalog to find further integrations and plugins.

Cashnet Official Group
Group
12,023
Gaming/Apps
Australia
Join Group

💰गेम खेल के पैसे कमाओ🤑
Group
10,131
Gaming/Apps
India
Join Group

🇦🇺𝑫𝒂𝒊𝒍𝒚 𝑮𝒂𝒎𝒆 𝑷𝒊𝒄𝒌𝒔| 𝐑𝐢𝐜𝐡𝐆𝐫𝐨𝐮𝐩
Group
5,154
Gaming/Apps
Australia
Join Group
Frequently Asked Questions (FAQ)
Can I add my Nanobot to a Telegram group chat?
Yes, but you must enable group support in your bot settings via @BotFather. In addition, you must add the group ID to the allowFrom configuration array in your config.json to ensure only authorized group messages are processed.
What is Model Context Protocol (MCP) and how does Nanobot use it?
Model Context Protocol (MCP) is an open-standard protocol that lets AI models interact securely with external tools and data sources. Nanobot acts as an MCP client, allowing it to connect to MCP servers (like filesystem servers, SQLite databases, or web scrapers) to extend its capabilities.
Is it safe to run terminal commands via a Telegram bot?
Only if strict authorization is active. The allowFrom whitelist restricts execution permissions to your verified Telegram ID. Never run a bot without this whitelist, as malicious users could exploit command line access to delete files or install malware on your host machine.
Can I use Google Gemini models with Nanobot?
Absolutely. Nanobot supports OpenRouter, which exposes Gemini 1.5 Pro and Flash endpoints. You can also connect to Gemini directly by setting up your Google AI Studio API key in the configuration.
Conclusion
Self-hosting Nanobot AI represents a powerful step forward in securing personal data while utilizing cutting-edge LLMs. By running your own agent gateway and connecting it directly to Telegram, you combine the accessibility of a messaging client with the full power of a local terminal and filesystem. Remember to maintain safety protocols by securing your BotFather tokens and whitelisting your User ID. To explore more resources, bots, and job boards in the ecosystem, visit the Telegram jobs and career directory on Telekit. Deploy your Nanobot today and take control of your private AI agent infrastructure!


No active reviews. Be the first to add one!